Docs
Create your first project
Use the dashboard, project wizard, and editor to create a first successful GIF.
The main screens
GIF Creator is centered around six main screens:
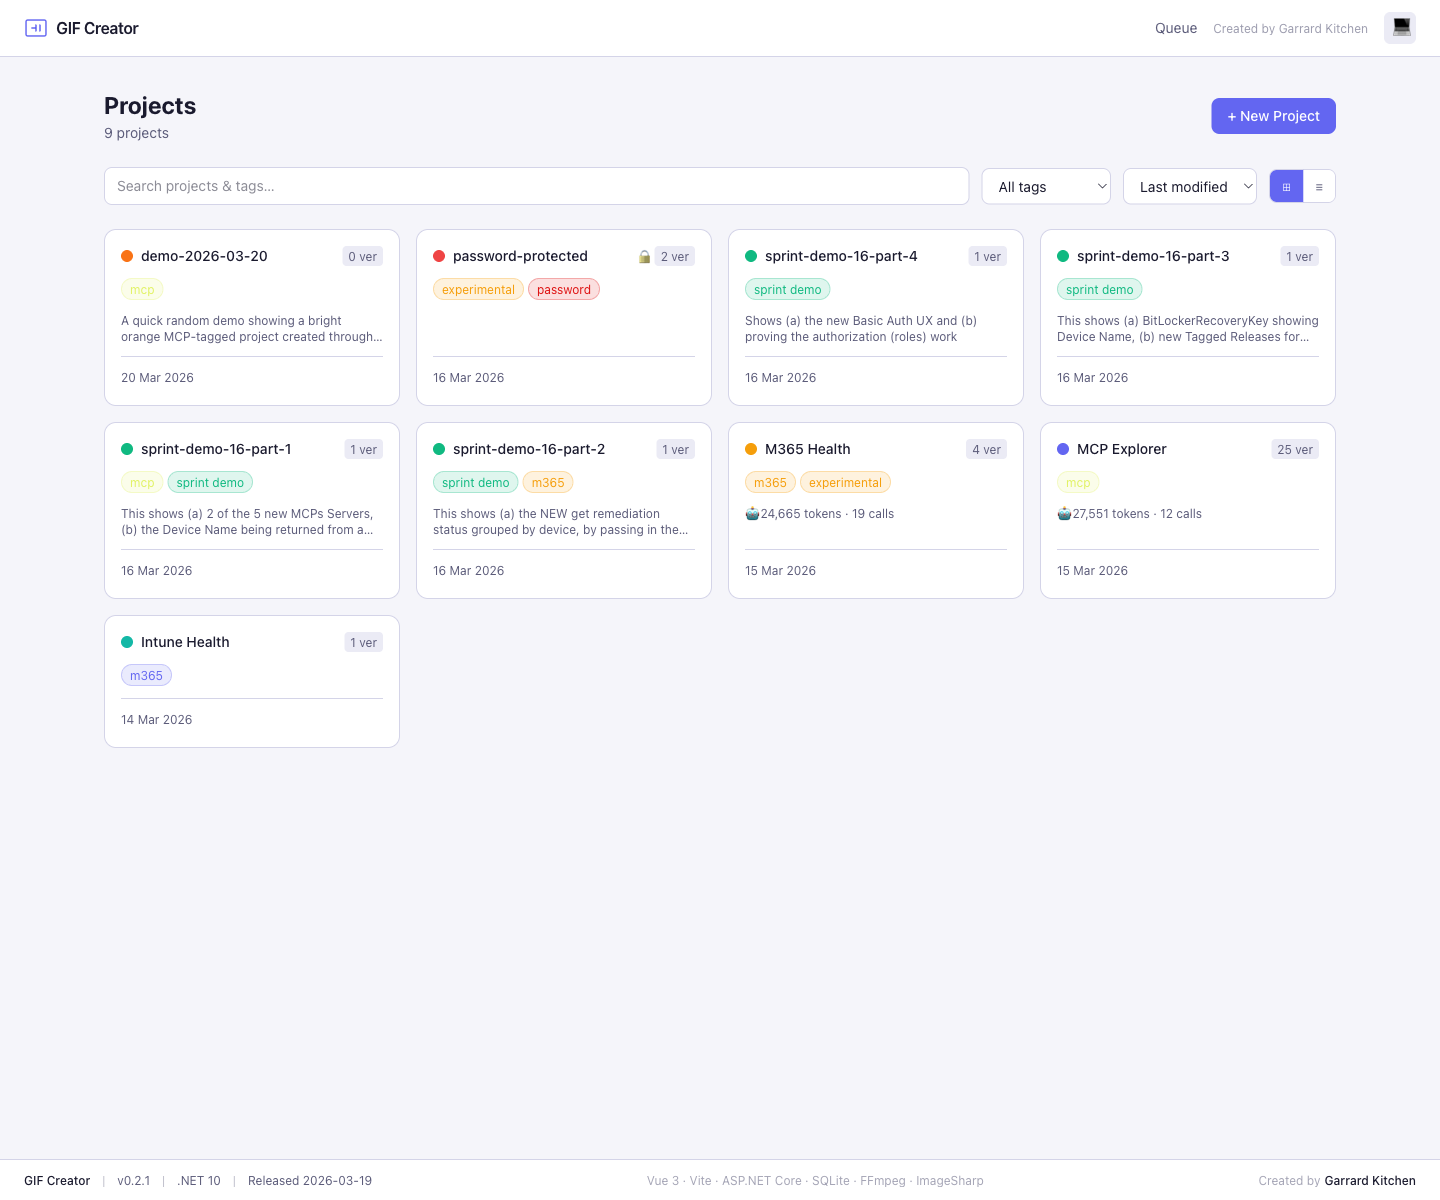
- Dashboard
- New Project
- Project Details
- Edit Project
- Frame Editor
- Encode Queue
First successful workflow
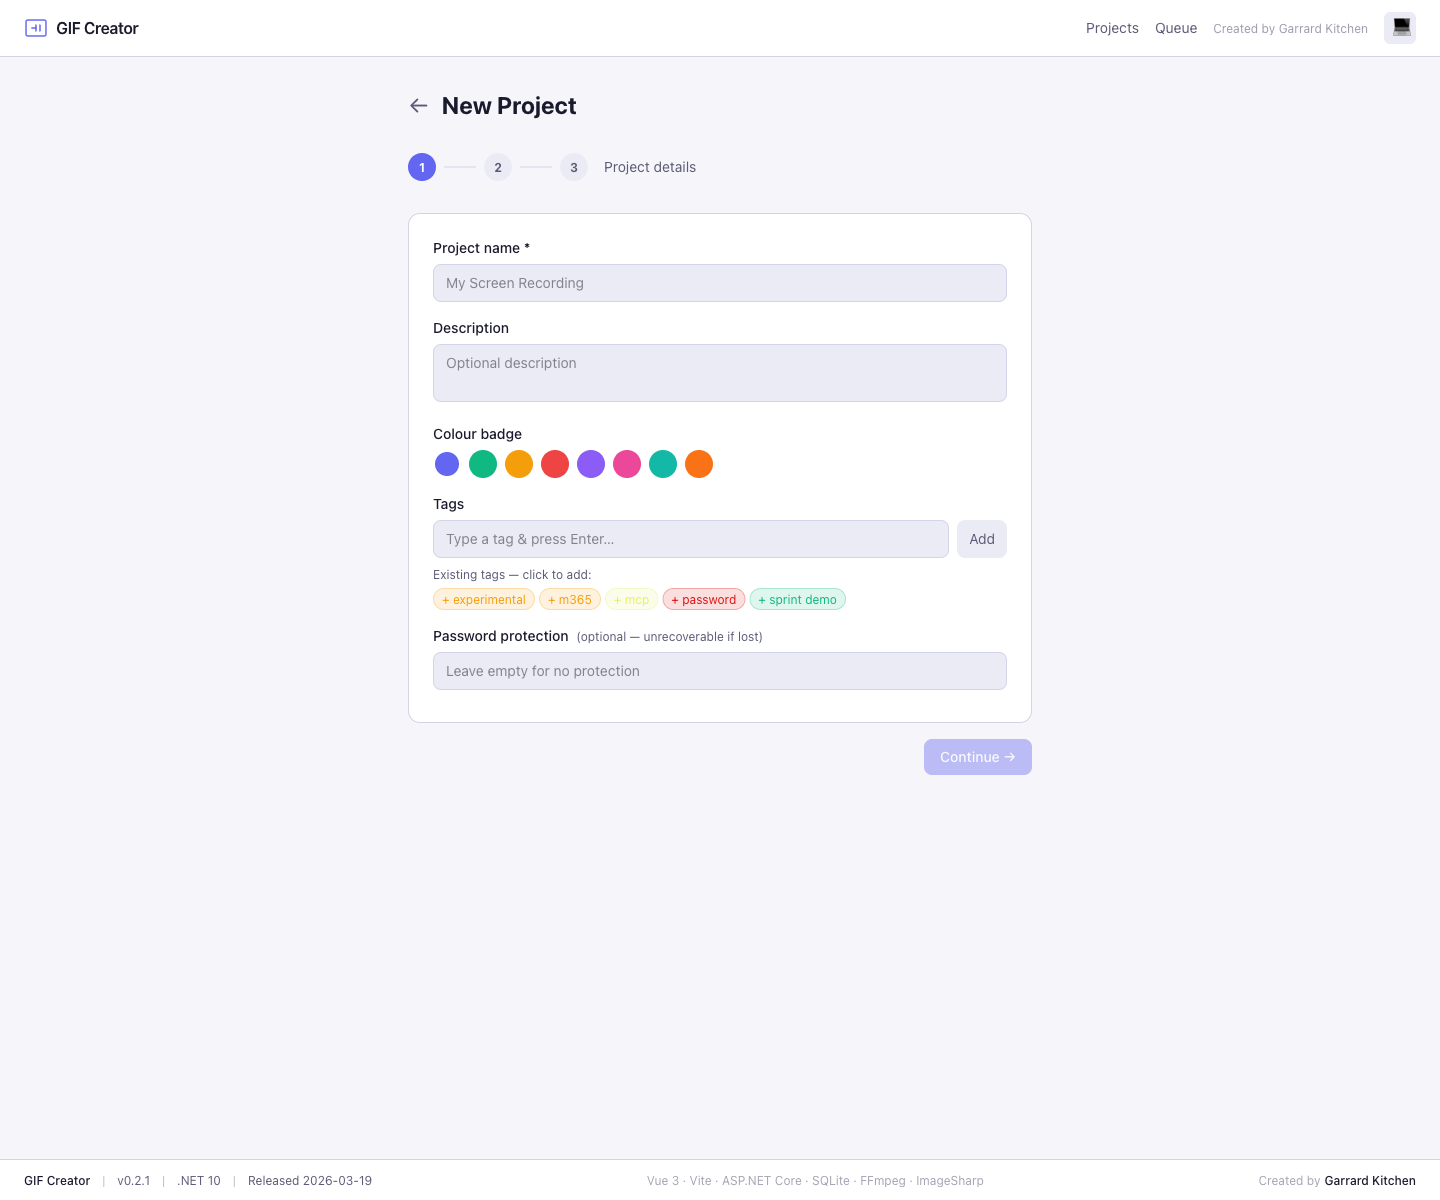
- Select New Project from the dashboard.
- Enter a project name, optional description, tags, and an optional password.
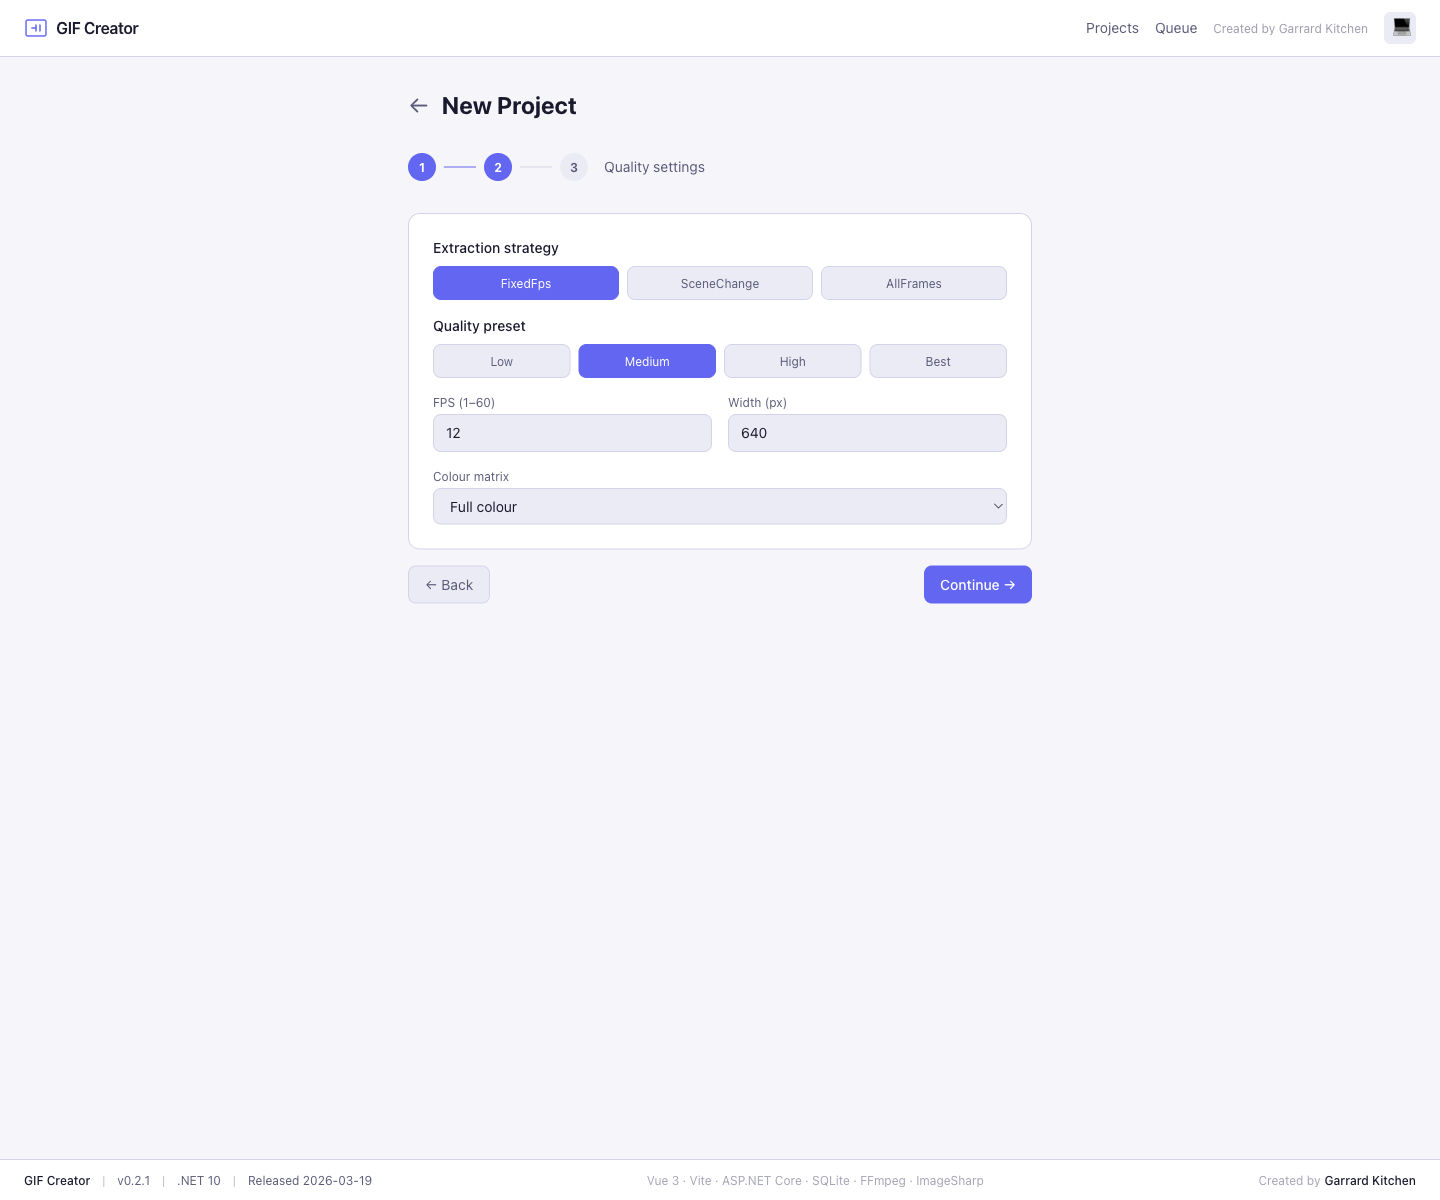
- Choose an extraction strategy and a quality preset.
- Save the project, then open the editor.
- Upload a short recording and wait for frame extraction.
- Add at least one blur region or title frame.
- Encode the GIF and review the queue.
How projects are structured
Each project stores:
- Metadata such as name, description, colour badge, and tags
- Default quality settings for GIF export
- The extraction strategy used when frames are generated
- Optional password protection
- AI usage totals when AI blur detection is used
- All exported GIF versions and their metadata
What to show in a quick team demo
If you only have a short window, show this sequence:
- Open a project from the dashboard.
- Jump into the editor.
- Blur a frame.
- Encode a version.
- Show the queue and project version list.
That path demonstrates the full value chain in under a minute.