Docs
Create branded GIFs
Add title frames and use the built-in typography and animation controls for branded intros.
Overview
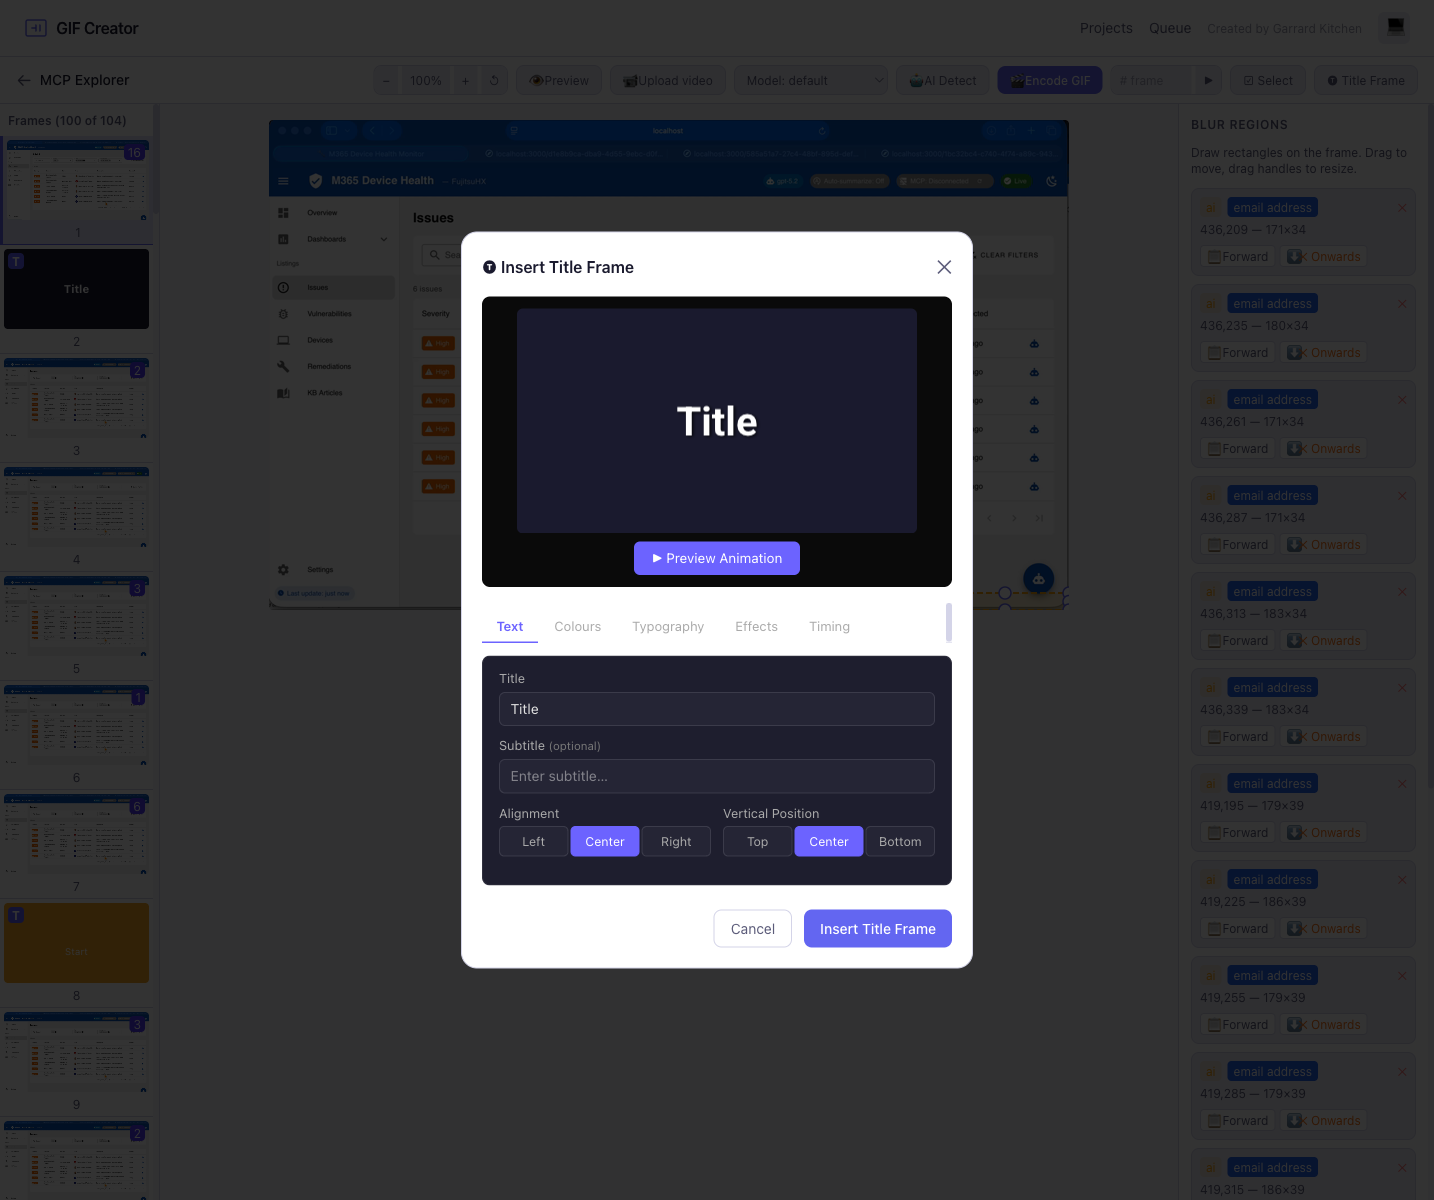
Title frames let you add branded context without leaving GIF Creator for another design or video tool.
Workflow
- Open the editor for a project with extracted frames.
- Select Title Frame in the toolbar.
- Choose the insertion point.
- Enter title and subtitle copy.
- Adjust colour, font, alignment, effects, and timing.
- Preview the animation, save the frame, then encode.
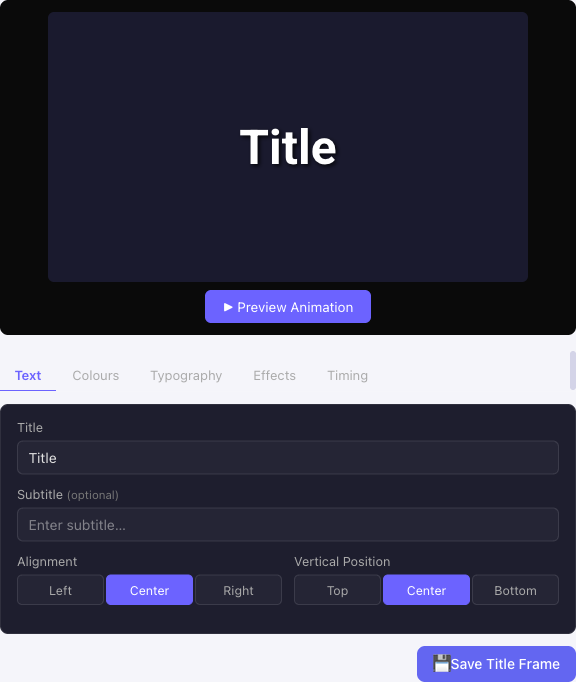
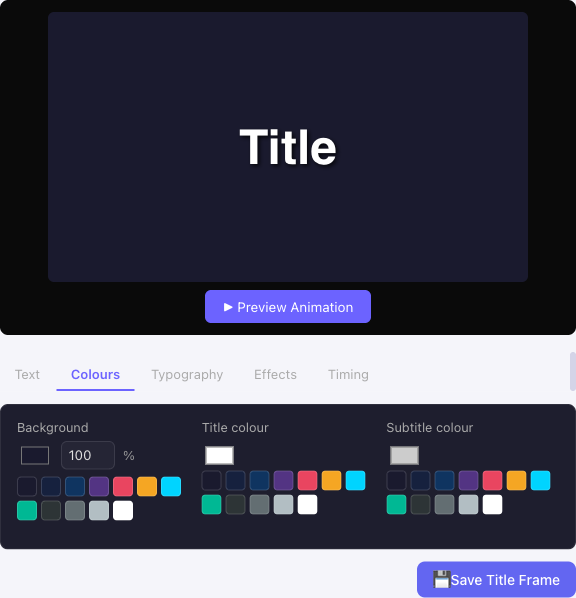
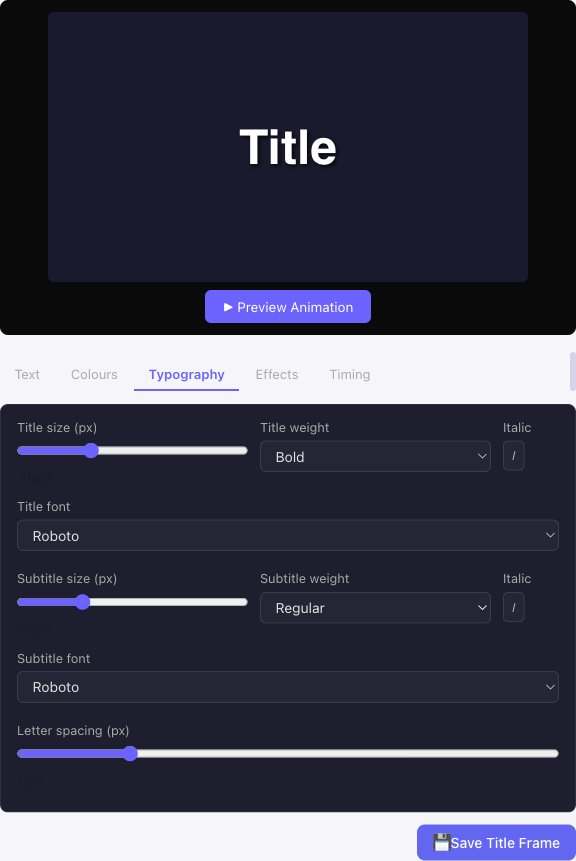
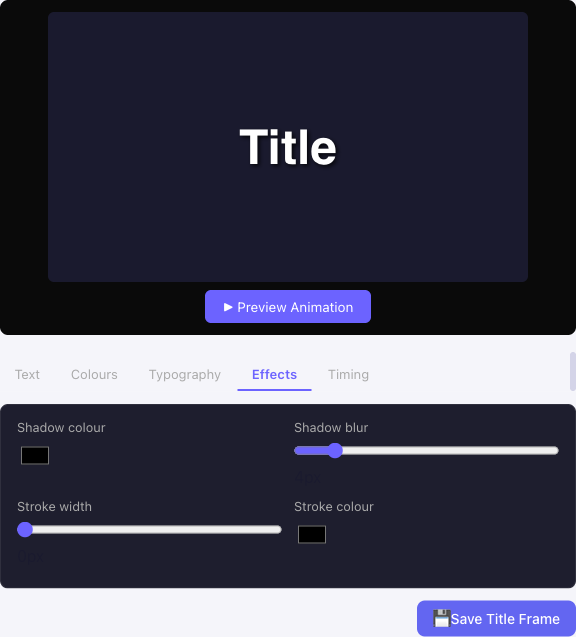
Explore every title-frame tab
Use the tabs to move from copy to styling to motion:
Good use cases
After a title frame is inserted, hover it in the frame strip to move it up or down in the sequence. If you need to remove it, the same hover controls also let you delete just that title frame or trim from that point onward.
- Product demo intros
- Branded callouts for internal presentations
- Start and end cards for instructional GIFs
- Additional context for a cropped or redacted screen recording
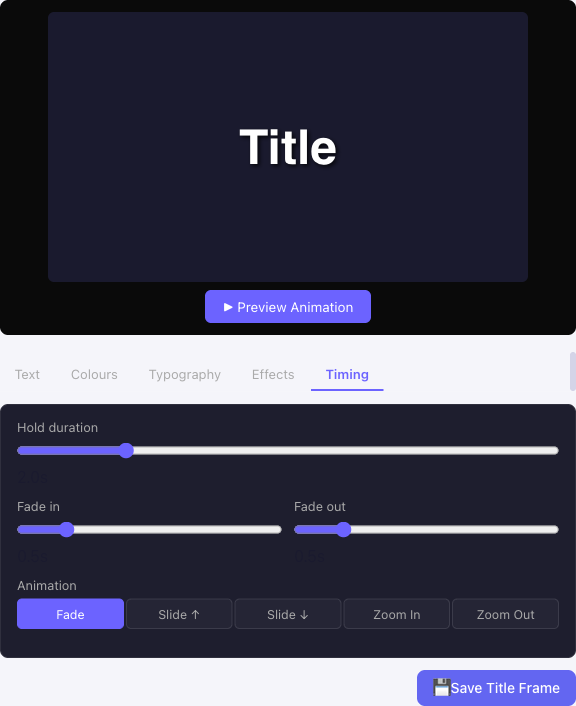
Animation options
GIF Creator supports these animation effects:
- Fade
- SlideUp
- SlideDown
- ZoomIn
- ZoomOut
These are driven by hold, fade-in, and fade-out timing values that are stored with the title frame configuration.